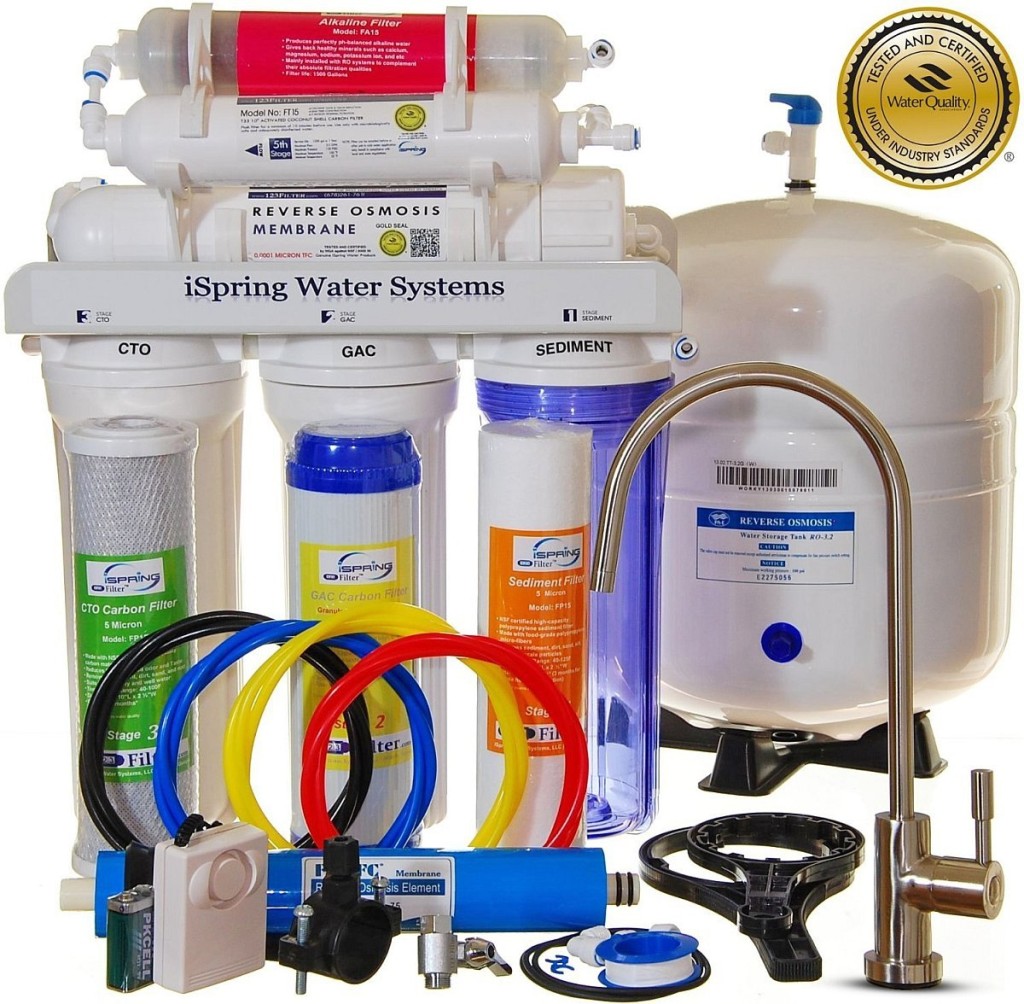
It is a common perception that DIY always save you money. Personally, I don’t think that is always the case. It depends on how expensive the raw materials you need as well as how much time are you putting into the project. In the case of an RO system, the cost of buying the components separately and putting them together might not yield as much savings as you thought. To prove whether this is true, I am going to list out the steps in making your own reverse osmosis systems, the components that you need and how much is the total DIY project is going to cost.
DIY reverse osmosis system set up
The big picture in making your own RO system is actually pretty easy to understand. What you will be doing is setting up different levels of filters such that the water is pushed through them and get cleaned after the filtration. Each filter will remove certain undesired elements from the water so that the end result is water that is cleaned and crisp.
While understanding the main picture is easy, setting it up is a different story. You need to be familiar with water pressure to pump the water through the filters as well as water flow to manage the input and output of filtered and unfiltered water. Finally, you need to set up rthe filters in the right sequence to achieve the best filtration results. Sounds complicated? It is!
What you need
Here is a list of components you need to make your own reverse osmosis system:
- Carbon filters (USD15 or Check out pricing on Amazon): these are taking out the chlorine, sediments, odor etc from the water. However, they can’t remove minerals and other dissolved substance.
- Demineralization Cartridge (USD50 or Check out pricing on Amazon): this is to remove minerals that can’t be taken out by the carbon filters
- Filter housing (USD50 or Check out pricing on Amazon): these tube like items are to house your carbon filters
- Tubing (USD10)
- Reverse Osmosis value flow restrictor (USD6 each): From what I can understand, this item is meant to create pressure within the filtration process such that the right process is being applied to the water flow and achieve the optimal cleansing output.
Depending on your set up and how much water you want to put in through the RO system, we are looking at a minimal of USD100 alone just on components. This doesn’t take into account the amount of time you need to prepare the setup as well as any replacement cost resulting from your mistakes. Worse of all, it is not 100% guarantee that you will get a high quality water since your set up process might not be correct in your first attempt.
For me, I rather buy a cheap under counter system like the Express water model which I reviewed in my article on the best reverse osmosis system for 2015. I understand that there are folks who want to spend under 100 for a RO system but do understand DIY does have its pros and cons. Unless you are very good in dealing with what I have mentioned above, I strongly suggest you buy the off the shelf version to have a peace of mind!

